NoIP in Kali Linux Dynamic DNS Setup
Today I will show you how to install, setup and use Dynamic DNS Service What is NOIP? Dynamic IP addresses are a real head ache for hobbyists and hackers. Once the modem restarts, 99 % of the…
Today I will show you how to install, setup and use Dynamic DNS Service
What is NOIP?
Dynamic IP addresses are a real head ache for hobbyists and hackers. Once the modem restarts, 99 % of the time you will be getting a new IP address. It makes us difficult to access a device in a home network from our office network. What if you could connect with something that doesn’t change no matter how many times the IP address changes? Thats where NOIP comes into play.
NOIP is a dynamic DNS service that constantly maps the IP address of the target device with a free host name in a regular interval. This is done by a client software called DUC or Dynamic Update Client. Now lets start working.
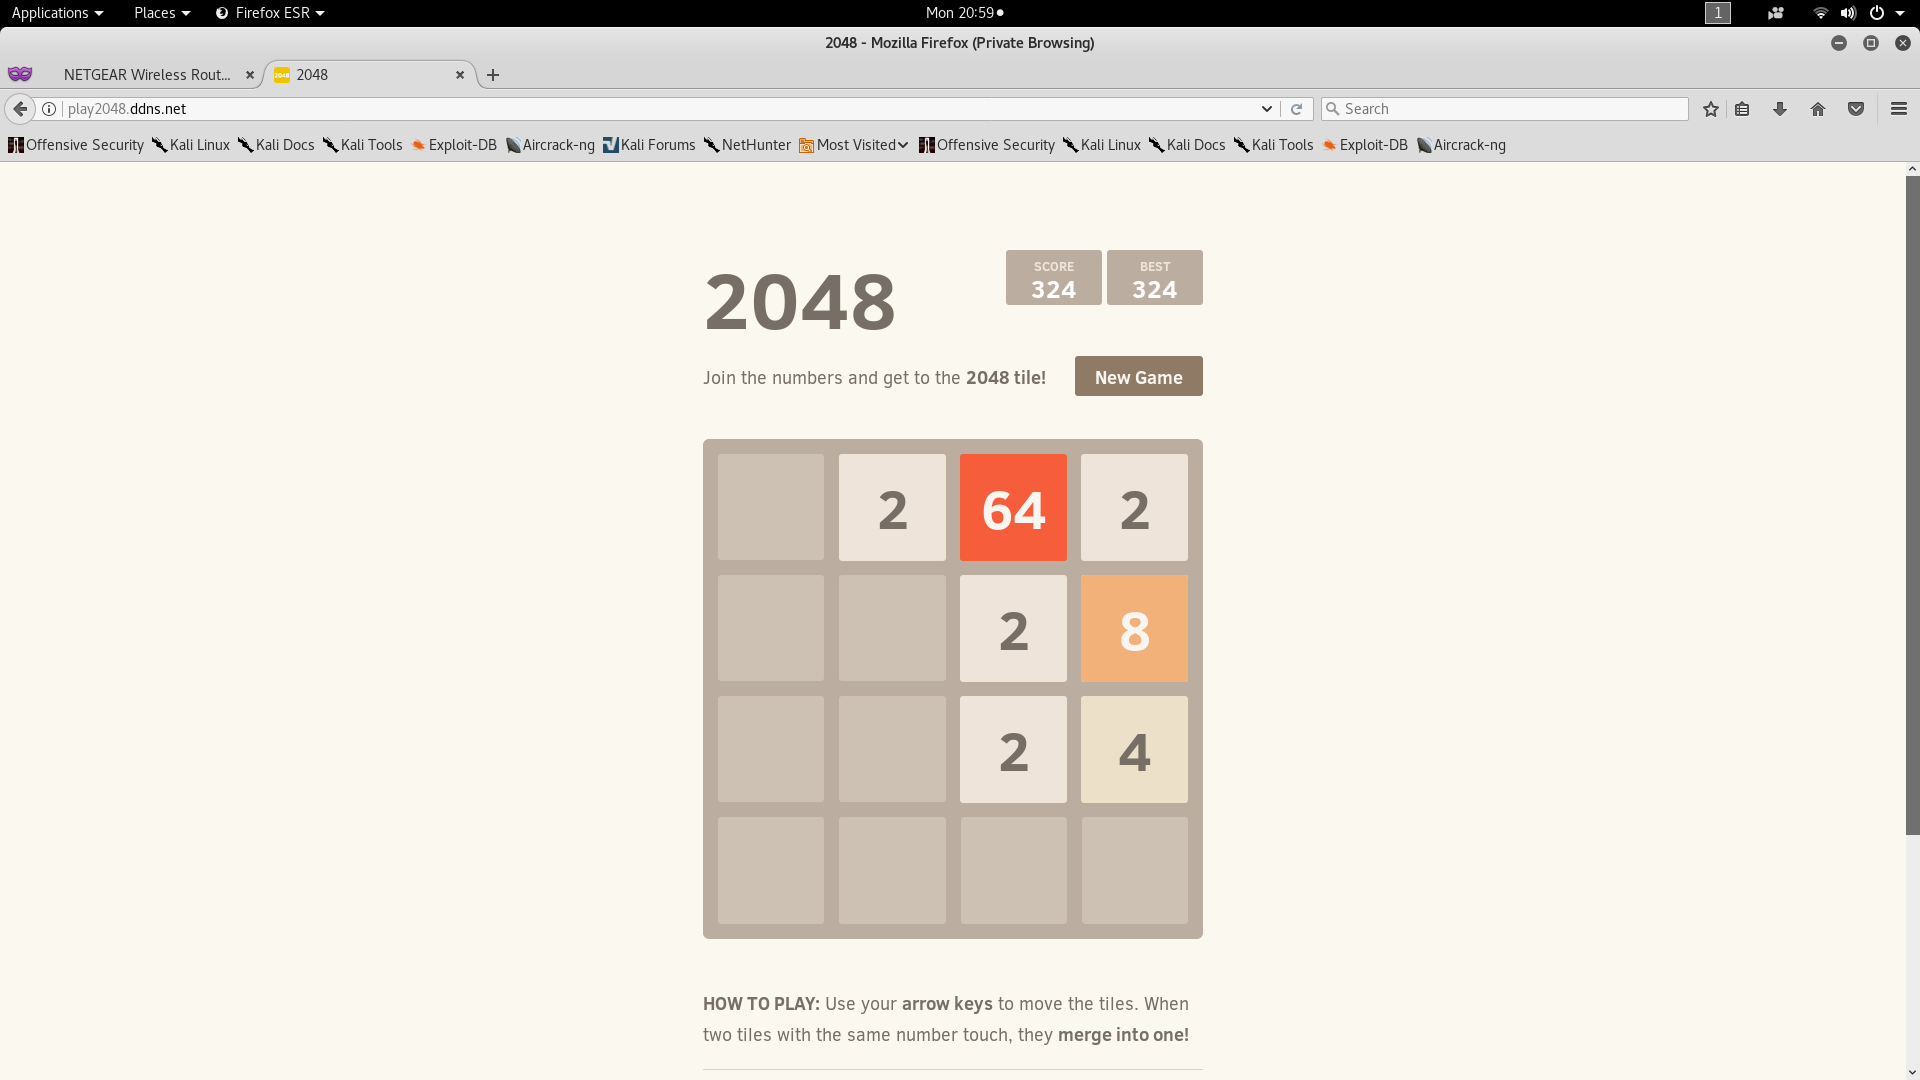
I have a raspberry pi in my home network which is acting as a web server (port 80) which serves a web page of classic 2048 game. Now I am going to setup a NOIP hostname and map it with my IP address so that I can access the webpage, from anywhere around the world, using this domain name. Now lets start.
Setting Up NOIP DUC
Sign Up on NOIP
First thing you need is an account in NOIP. Create an account using a valid E Mail ID and verify it via E Mail.
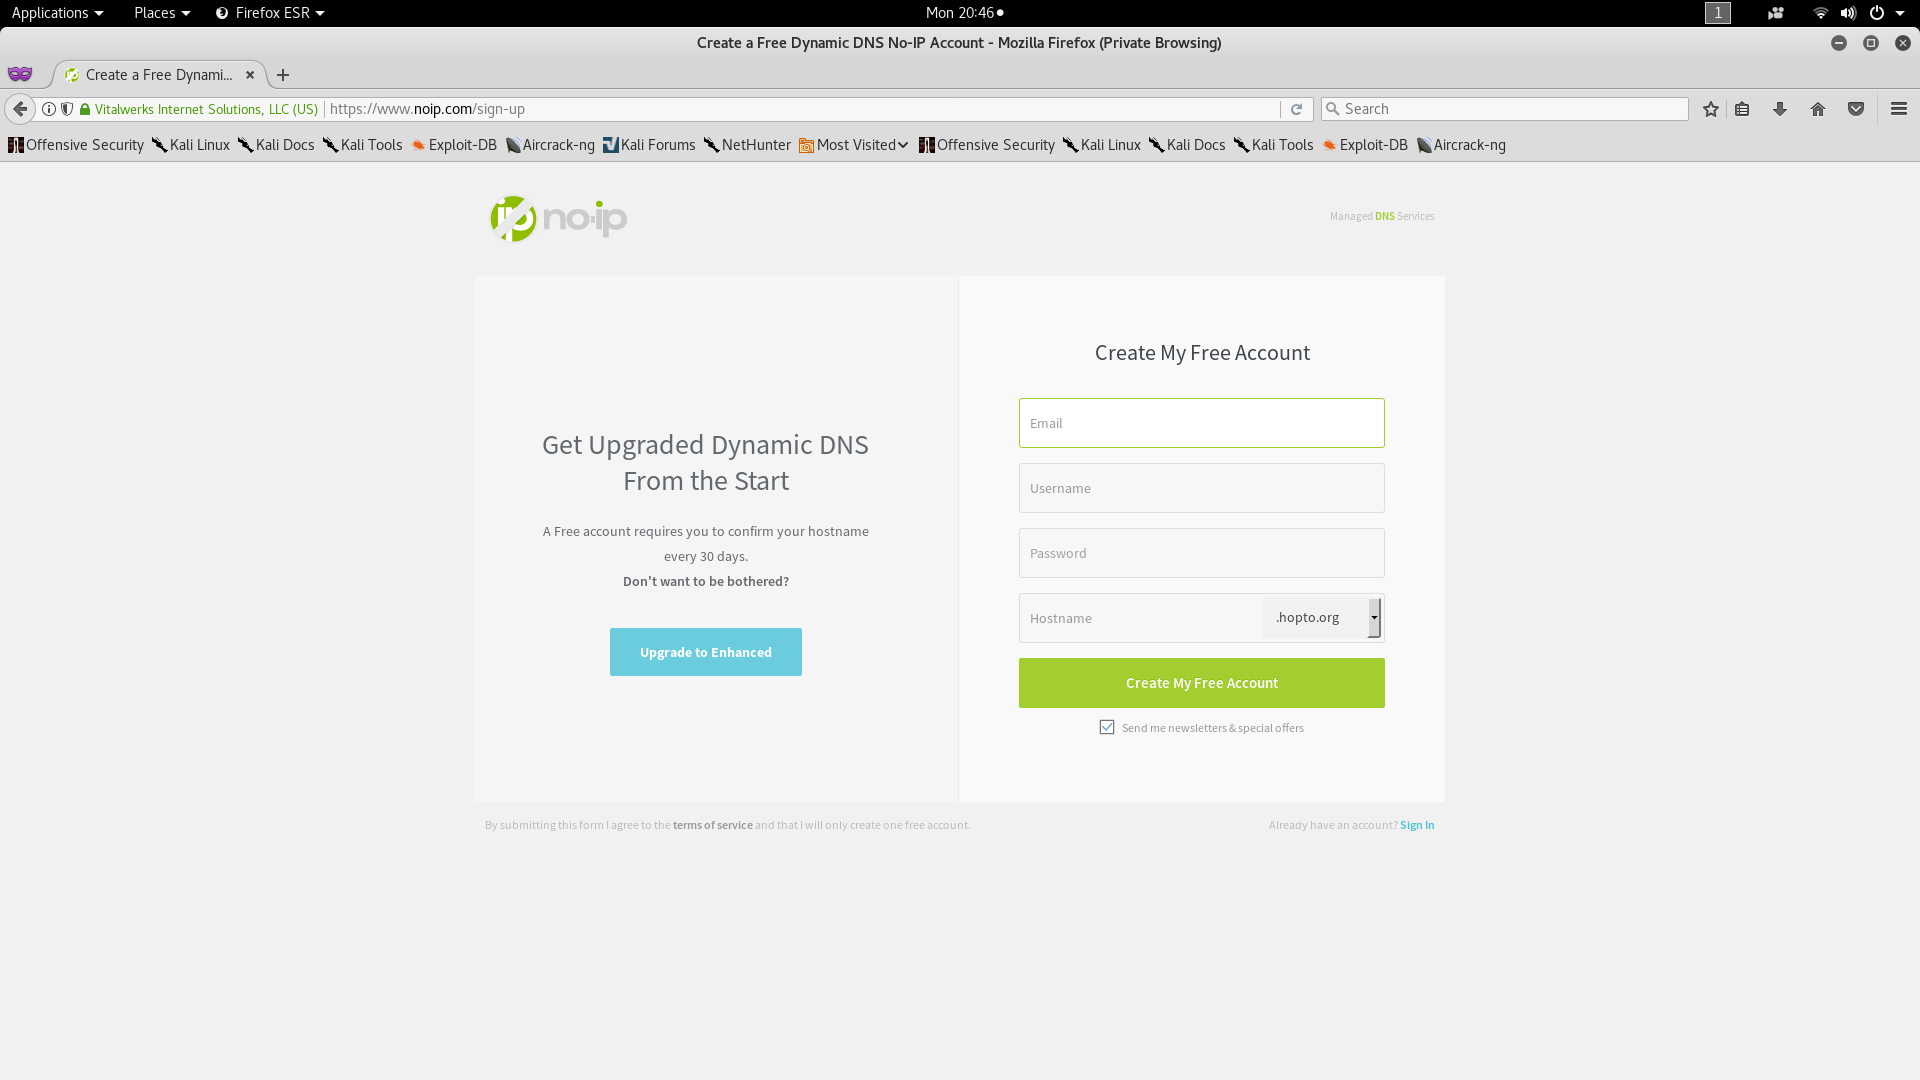
Create a Hostname
Once verification is completed, you can login using you credentials and create a DDNS Hostname for that device.
[AdSense-A]In my case, I chose “play2048.ddns.net”

Download and Set UP DUC (Dynamic Update Client)
Next thing to do is setting up the DUC. For that Open up the terminal and issue these commands one by one
cd /usr/local/src/
wget http://www.no-ip.com/client/linux/noip-duc-linux.tar.gz
tar xf noip-duc-linux.tar.gz
cd noip-2.1.9-1/
make install
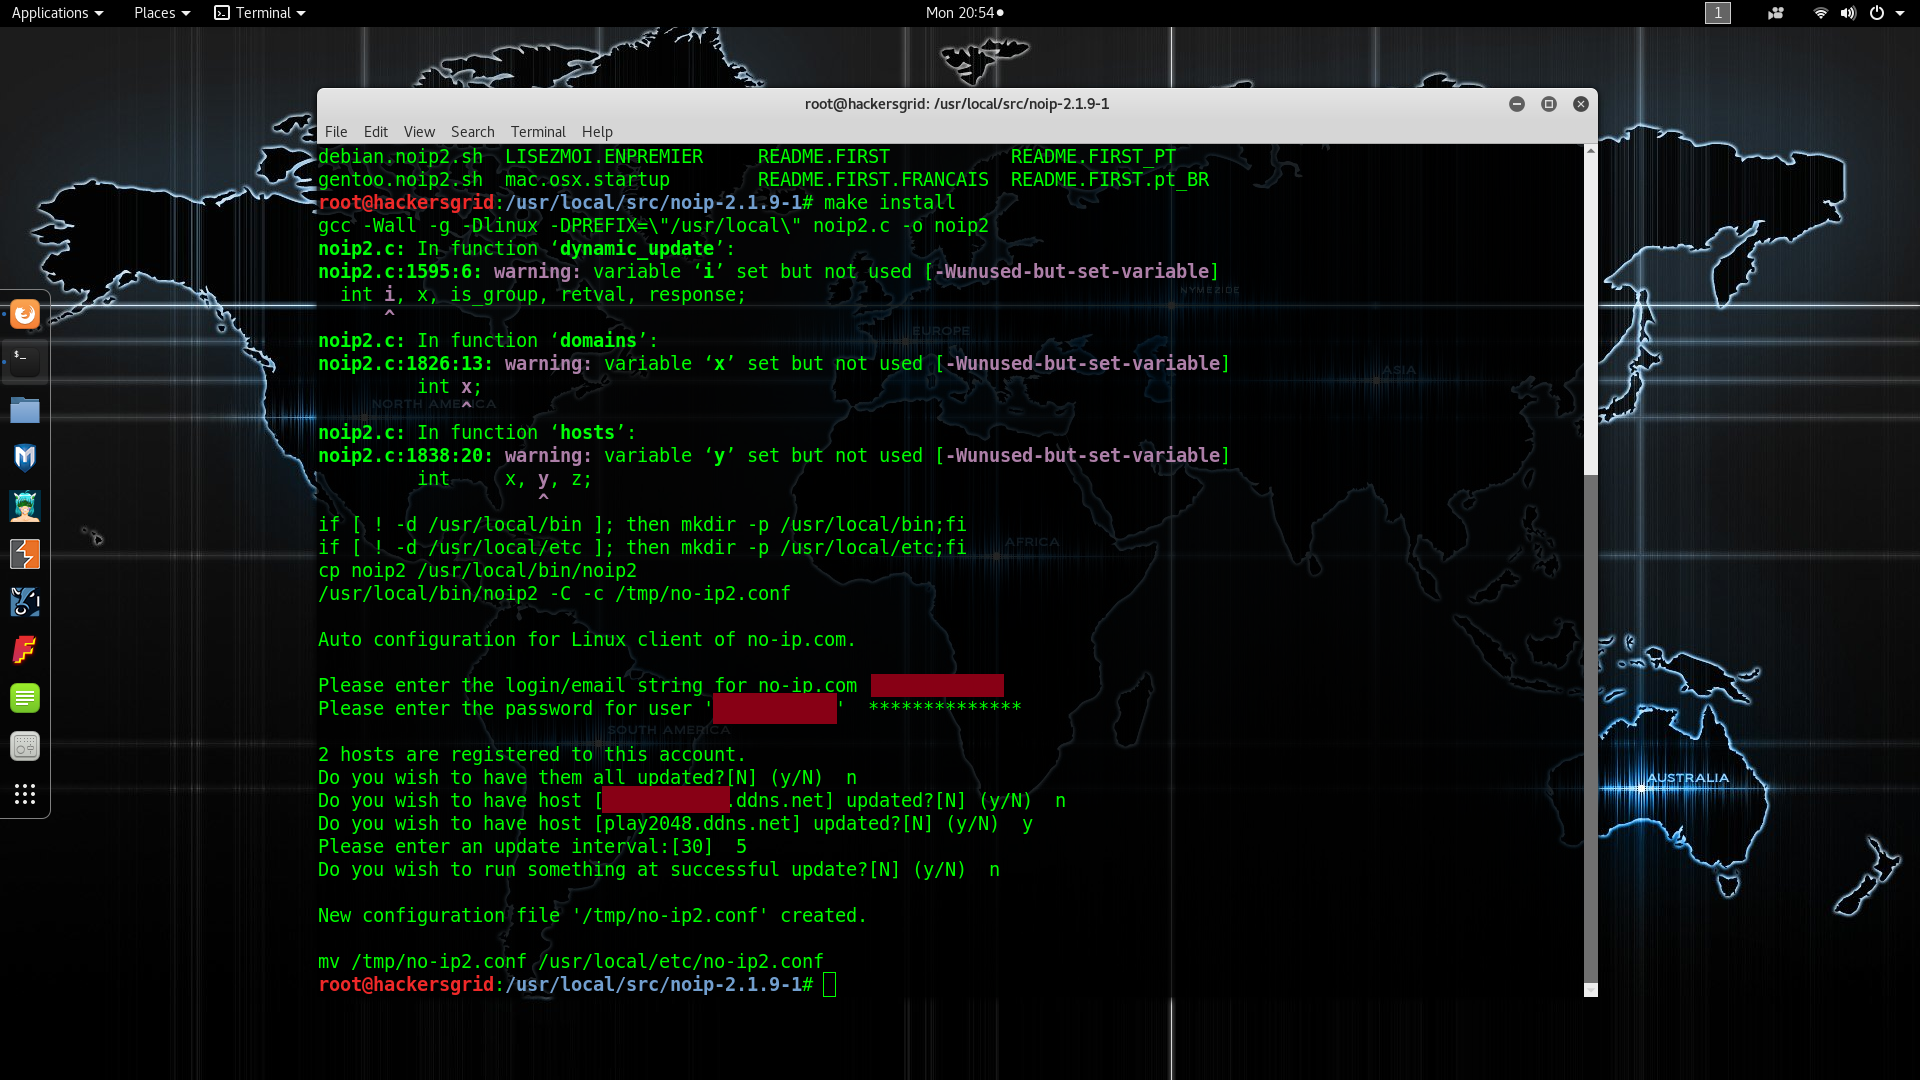
This will install DUC on your machine. You will then be asked to login with your No-IP account username and password and it will help you to configure DUC easily.
Port Forwarding on Router
Best WiFi Routers of 2018
Here is a list of World’s Best WiFi Routers of the year 2018. Make sure you grab one of them for High speed, Long Range, and Stable Internet connection.
http://www.cuteoffers.com/technology/best-wifi-routers-2018/
Dynamic DNS is now ready. Hostname will be mapped to your Dynamic Public IP address in a regular interval. But the requests for your raspberry pi will only reach till your home router. In order to forward those packets to raspberry pi with private IP address, in your home network, you will have to do port forwarding in the router.[AdSense-C]
This will be different for different Routers. I am using a netgear router and will show you how I did it
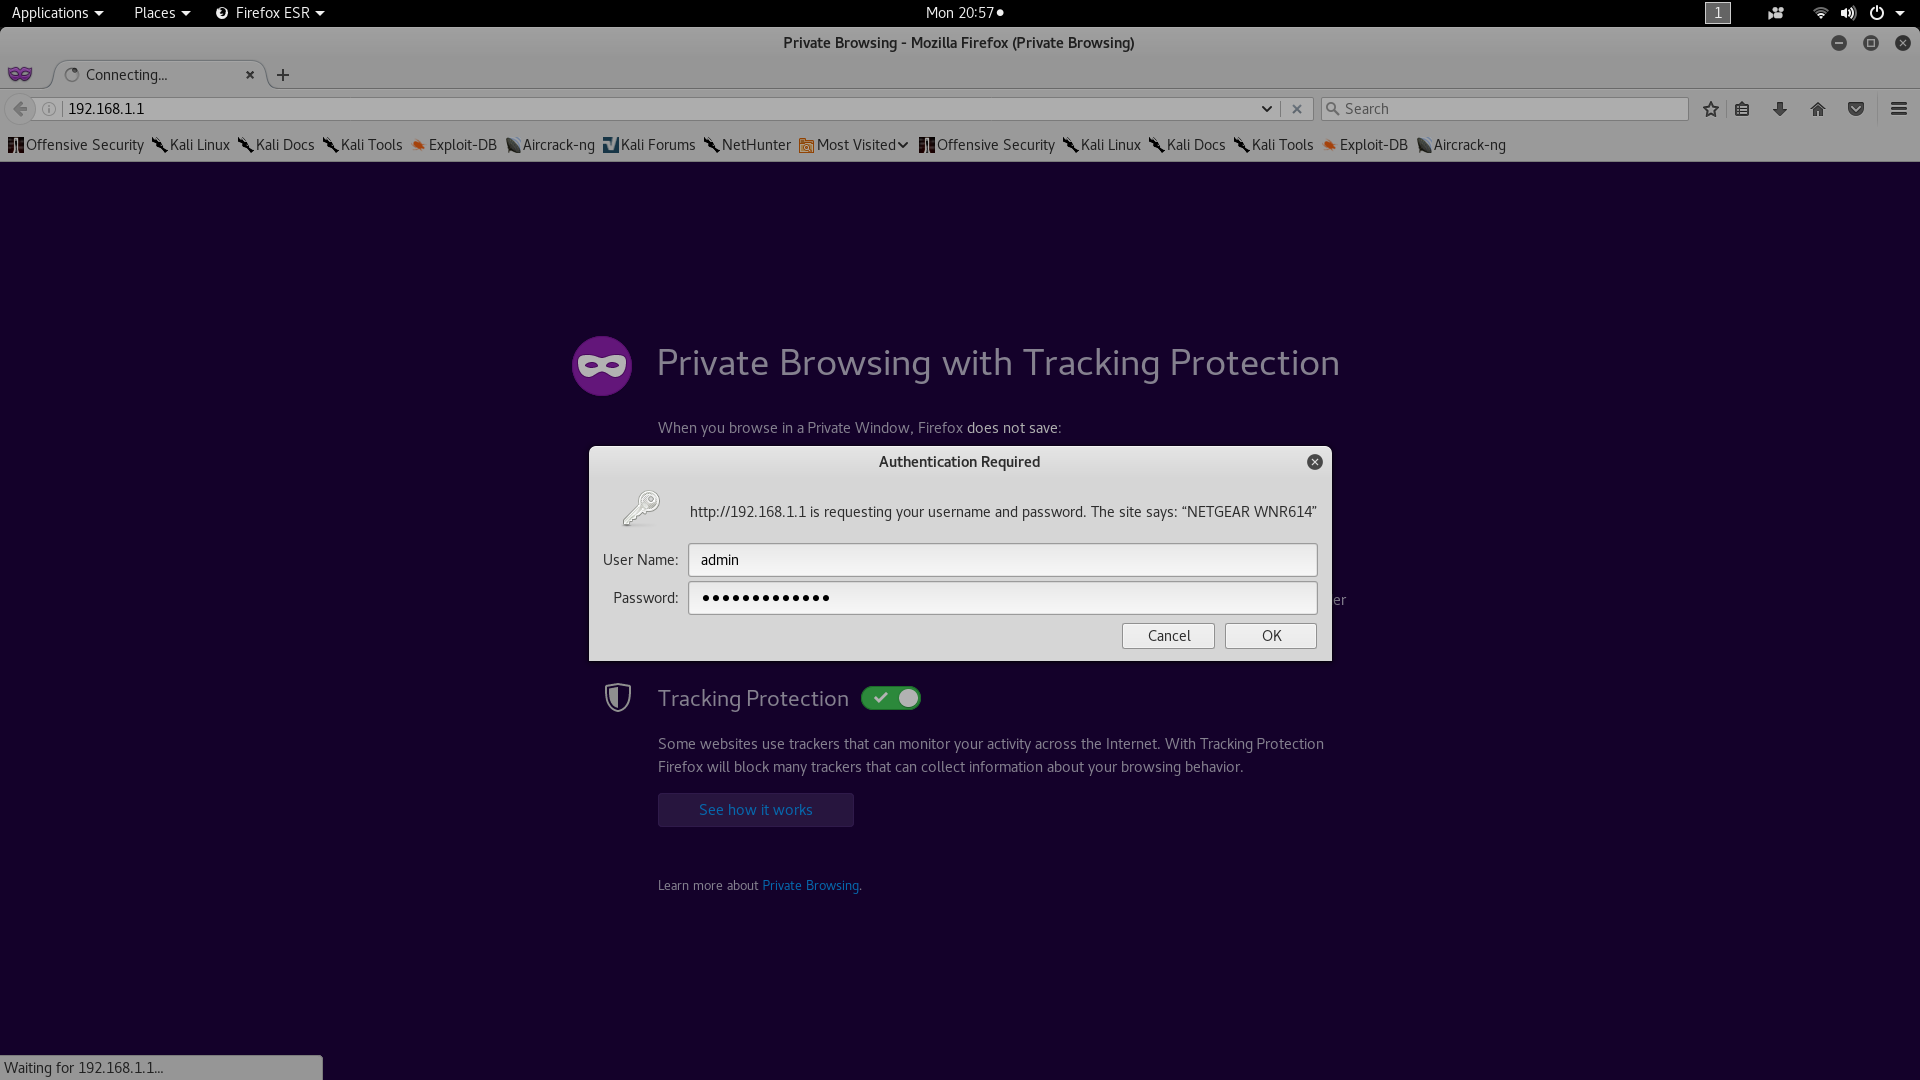
Login to your router using in IP address with your login credentials. Mostly IP address of router will 192.168.1.1 or 192.168.0.1. Next find port forwarding settings. For Netgear, it is under Advanced Set Ups.
Enter the private IP address of Raspberry Pi and enter the port as 80 as shown in the image and click on Apply.
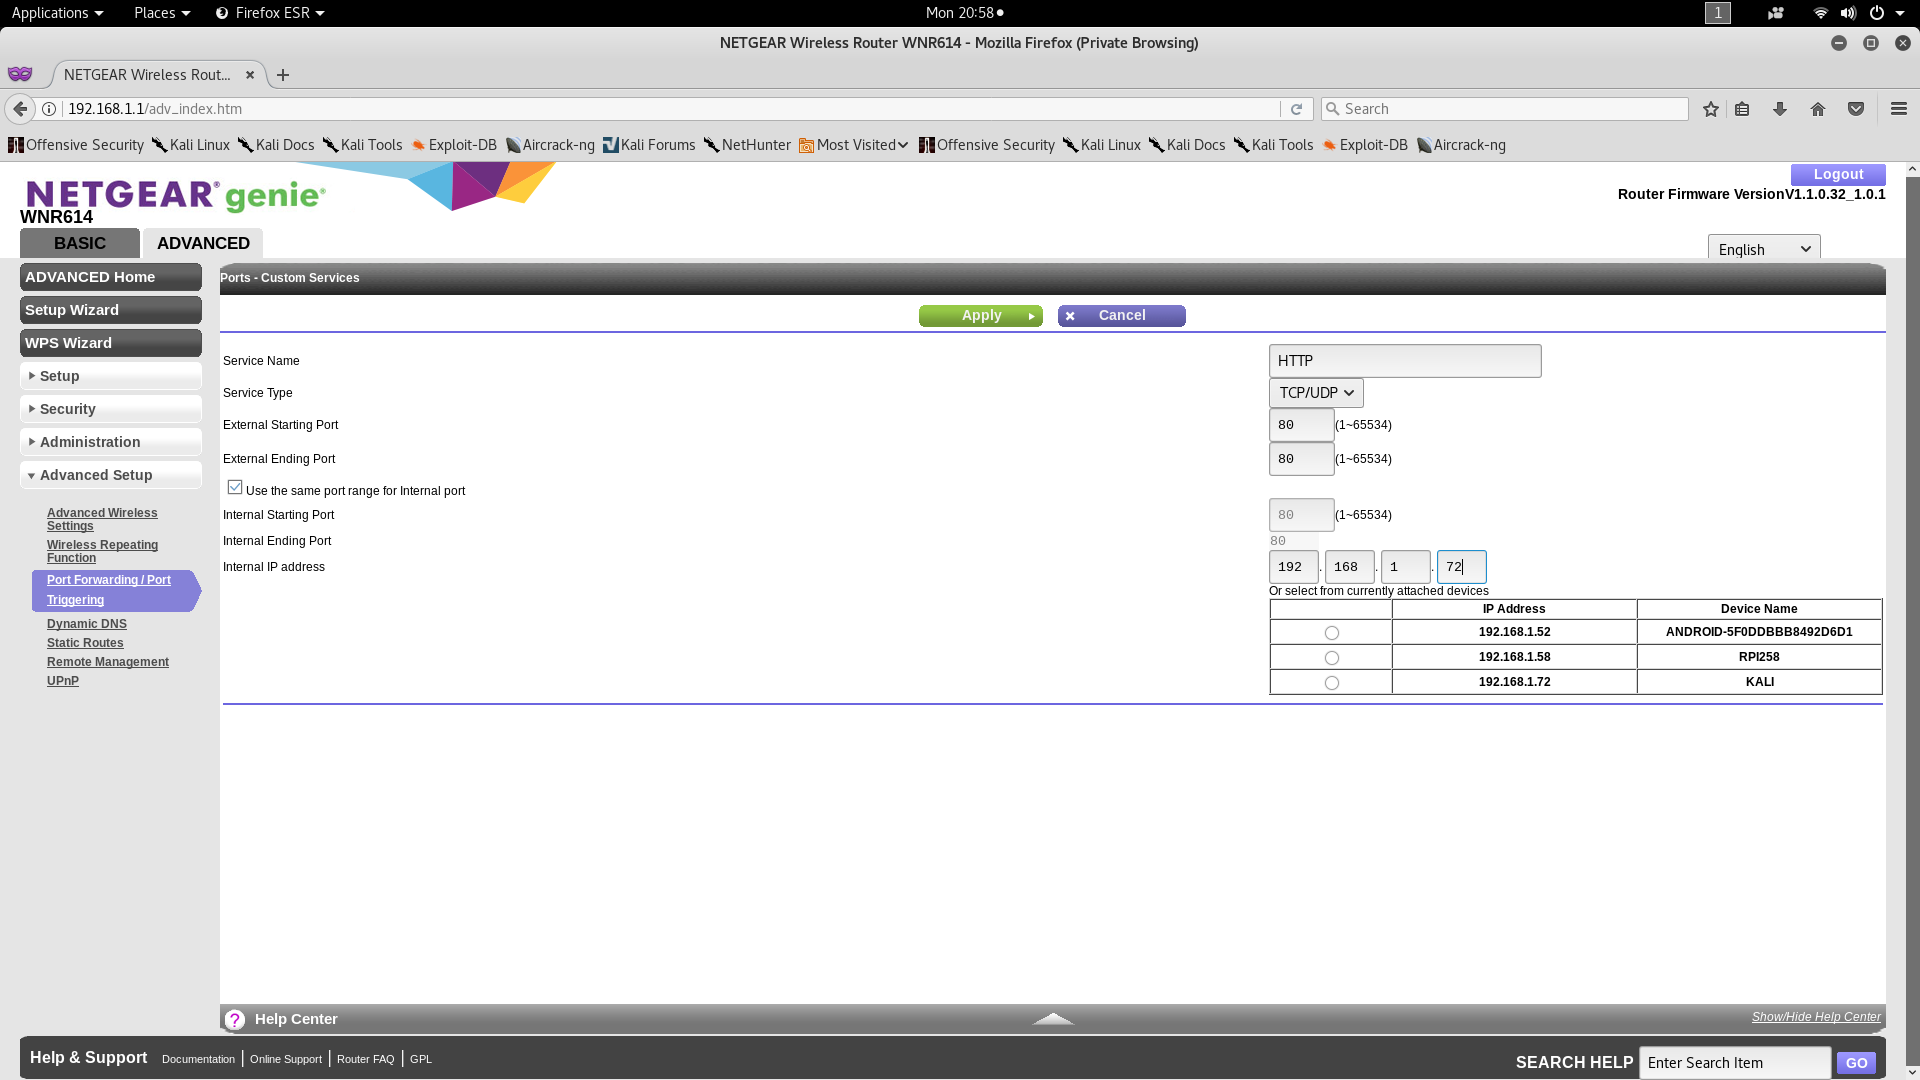
Now all the traffic coming through port 80 will be redirected to our raspberry pi.[AdSense-B]If I open up a browser and issue my hostname, I will see the web page that is served by my Raspberry Pi.
If you have any questions, please let me know in the comments.
![Best Kali Linux Wifi Adapter for Packet Injection & Monitor Mode [Updated 2024]](https://hackersgrid.com/wp-content/uploads/2024/02/WiFi-Adapter-Supported-by-Kali-Linux-768x439.webp)


Do you have to run
cd /usr/local/src/
wget http://www.no-ip.com/client/linux/noip-duc-linux.tar.gz
tar xf noip-duc-linux.tar.gz
cd noip-2.1.9-1/
make install
Everytime you want to start DUC or is there another way to start it thanks