Orange Pi have come up with another Single Board Computer that have WiFi, USB OTG and ‘TWO’ 10/100 Ethernet ports. Behold The Orange Pi R1. It’s an open-source single-board computer. It can run Android 4.4, Ubuntu, Debian. It uses the AllWinner H5 SoC, and has 256MB DDR3 SDRAM. In this post, I will show you how to install and setup your first Orange Pi R1.
This Project is Sponsored by UTSource. UTSource is a professional electronic components supplier.
To know full details about Orange Pi R1 Hacker board, here, you will find the original article about the board.
In this tutorial, I will be downloading and setting up ubuntu.
Step 1 : Download
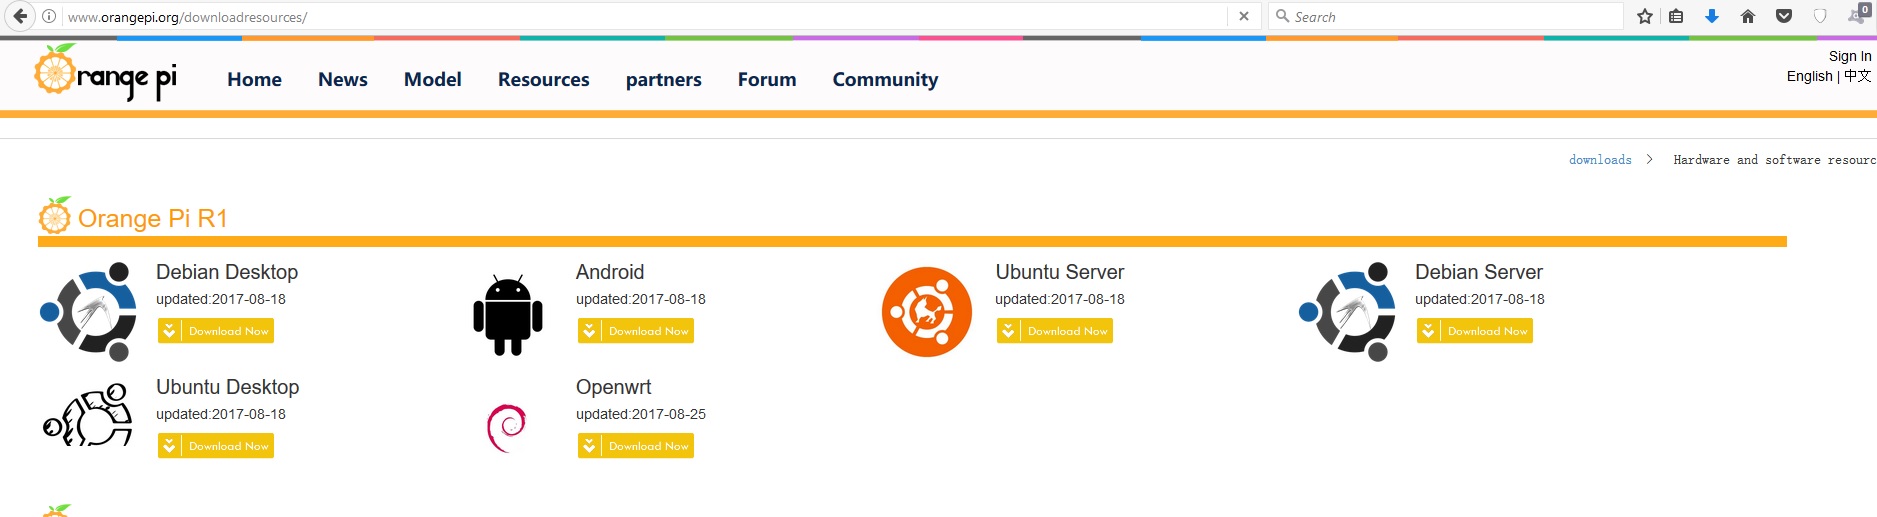
Go to below link and Click on Ubuntus Desktop Image for Orange Pi R1 as show in the image below.[AdSense-A]
http://www.orangepi.org/downloadresources/. Select any cloud and download the image.
Insert your Micro SD card into your computer. The size of card should be larger than the OS image size, generally 4GB or greater.
Download the SD card format tool such as SDFormatter from here.
Unzip the download file and run the setup.exe to install the tool on your machine
In the “Options” menu, set “FORMAT TYPE” option to QUICK, “FORMAT SIZE ADJUSTMENT” option to “ON”.
[AdSense-C]Click the “Format” button.
Unzip the download file to get the OS image. Right click on the file and choose “Extract all”.
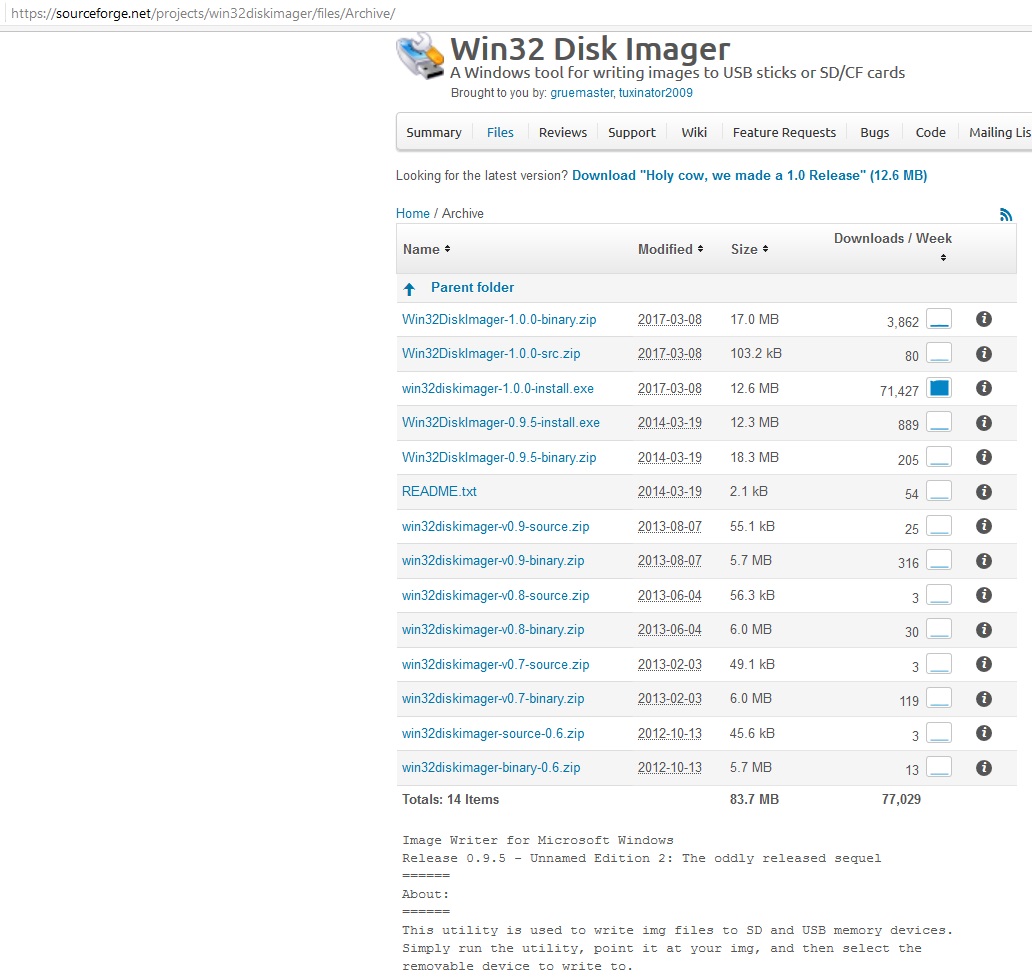
Download a tool that can wirte images to a TF card, such as Win32 Diskimager from: Download Win32 Disk Imager
Open the unzipped image file.
Click Write button. Wait patiently to successfully complete writing.
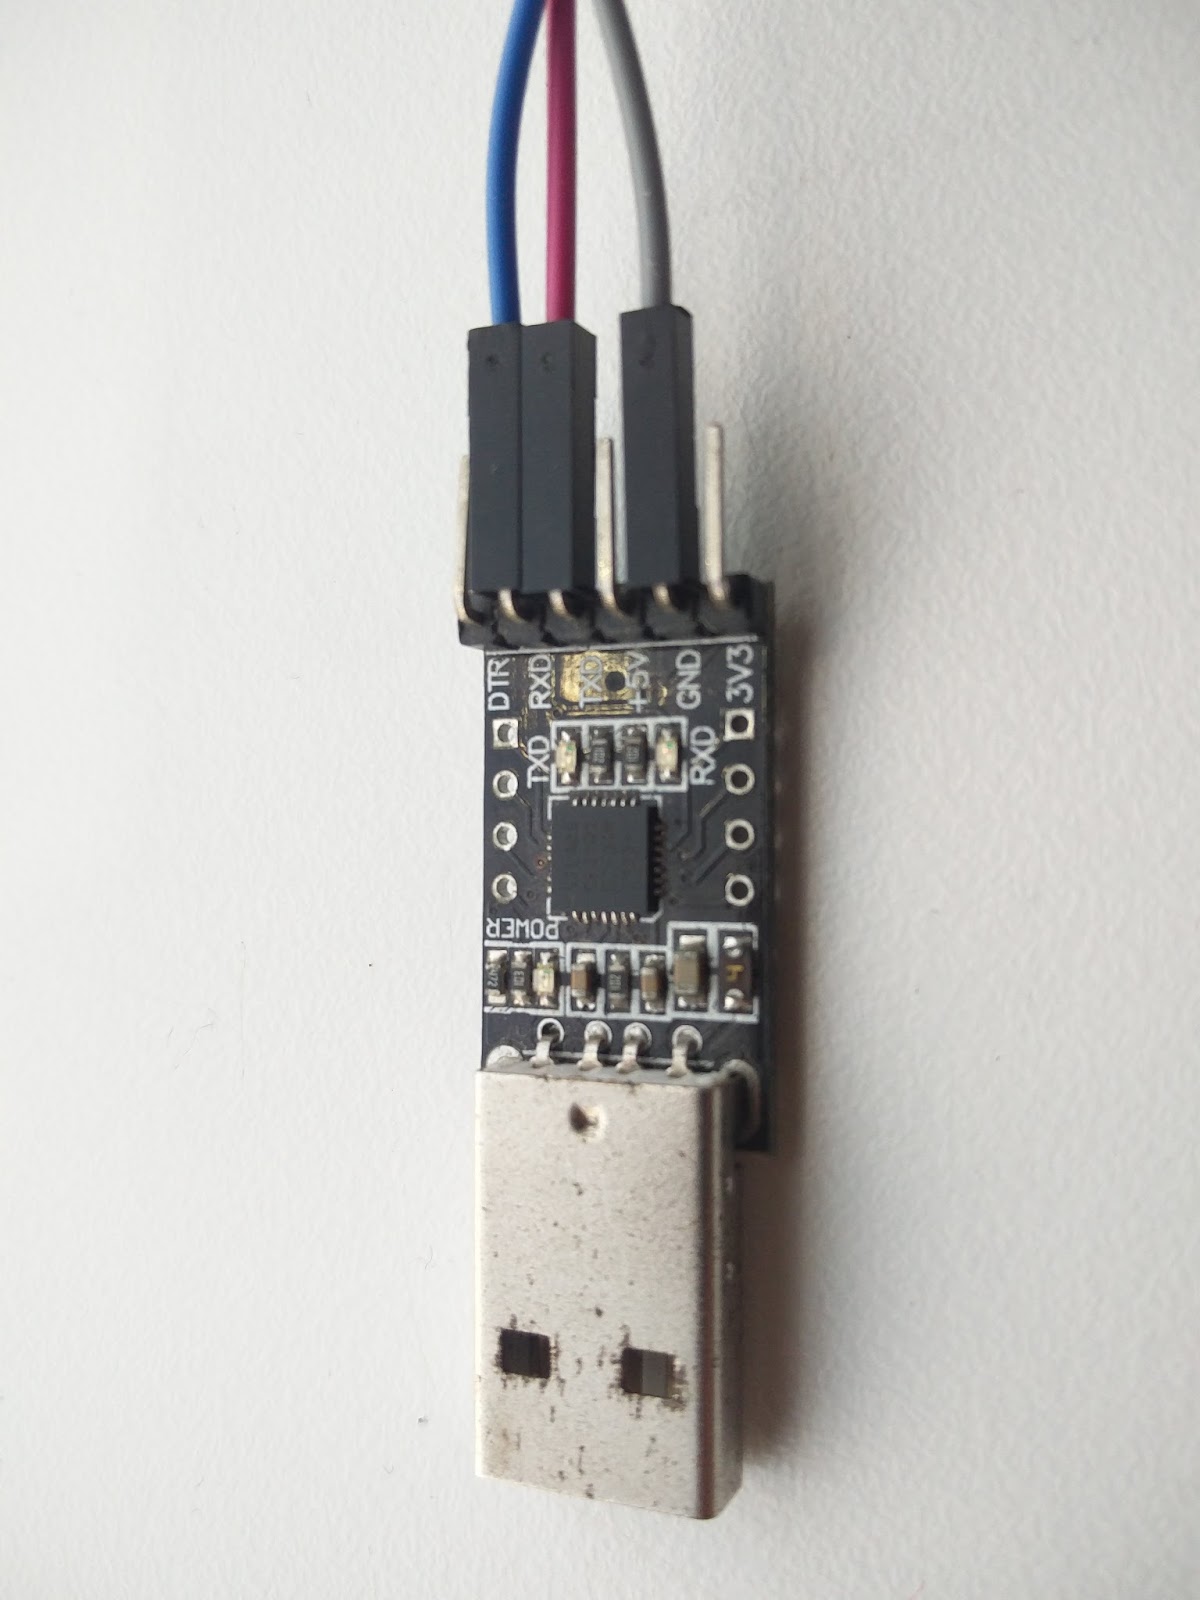
Insert SD card into the card slot of the board and connect the peripherals and power on the board. If you don’t have an LCD display, you don’t have to buy one to get this working. I used the serial port to connect to orange pi and setup up WiFi so that you can ssh into it from any device. I had an old USB to TTL serial converter, so i will be using it to connect to orange pi and connect to my network.
[AdSense-C]
There is a tool called WPA_CLI which can be used to create and manage wifi networks.
First execute
add_network
the output will be an integer. This is the network number. (In my case it was 2)
now run
set_network 2 ssid “your network name”set_network 2 psk “your password”
now
select network 2
Now its connected to our network but it may not get the IP address. To get the IP address, execute
dhclient
Now check the IP address,
ifconfig
If you got the IP, Congrates everything is done!! Now have fun!!
Discover creative ways to recycle old electronics into new, useful gadgets. Turn your electronic waste…
Explore the top 10 advanced LED projects that go beyond basic lighting. Perfect for electronics…
The integration of UV resin into the PCB production process represents a great achievement and…
Discover essential tips for electronics engineering graduates to gain practical experience, from internships to DIY…
Learn essential tips on setting up your workspace, choosing the right tools, and starting your…
The electronics sector is about to undergo a revolutionary period that will be characterized by…
View Comments
This is good. Thanks!