Wireless HID Attack using Arduino MKR1000 | Rubber Ducky Over Wifi
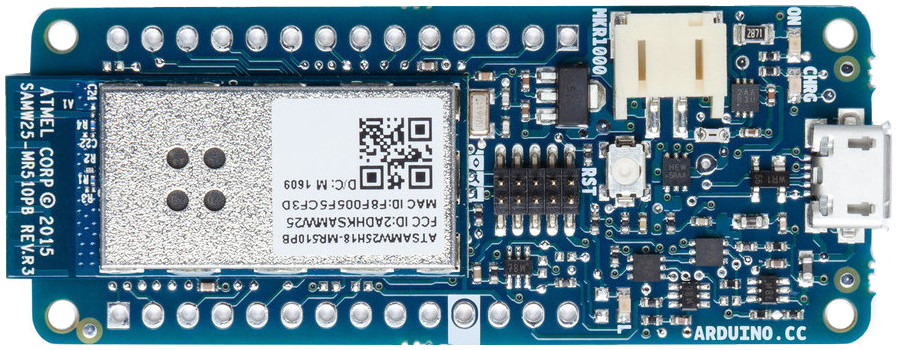
Today I have an Arduino MKR1000 which is a board with a built-in wifi chipset specially designed for IoT projects. Recently I came to know that, this little board can act as a Human Interface Device such as a keyboard or a mouse. So I thought of using it for some Wireless HID attacks over WiFi.
Wireless HID Attack Demo
Here, the Arduino is programmed in such a way that, whenever I power it up, it will connect to my mobile phone’s WiFi network and starts a web server at port 80, which can be accessed from any web browser in my phone. So what I can do is connect this board to my victim’s PCs back USB port and walk away so that the victim won’t be suspicious. Now I can open up a browser, go to the MKR1000 board’s IP address and wait for the victim to walk away from his computer. When he is away from the computer, if the PC is not locked, we can easily do remote HID attacks.
One advantage of this is we can store multiple commands in this board and we can issue one by one from our phone whenever we want. This means, we can use this same for multiple devices without uploading the code each time for each purpose.
How To Do It?
Wireless HID Attack using Arduino Video Tutorial
Unfortunately, google/youtube flagged most of my tutorial videos as they say its against their policy to publish articles related to hacking. I will upload the video in Vimeo and post it here.
Download, Install and Setup Arduino IDE
First thing to do is download and install Arduino IDE from Here. Once you install it, now it’s time to add the Arduino MKR1000 board to the board manager. Then you have to install the WiFi101 library from the library manager. Download the Code The code is available in the GitHub. You can download it from Here.
This was written as experimental code and it is not well written. I have plans to update the code with support for other OS and more complicated attacks
in the future.
Shop Now
Editing the Code
Now all you have to do is do some basic modifications in the downloaded code. Just change the ESSID and Password. Now connect the board and upload the code to your board.
And that’s it.


It’s difficult to get knowledgeable individuals on this topic, however you seem like there’s more you’re discussing! Thanks