Ultra Long Range WiFi Receiver at Home
Interested in WiFi? In this post, I will explain how I made a WiFi station that can give you access to far away WiFi networks from your home. Before continuing, you should have a clear idea on…
Interested in WiFi? In this post, I will explain how I made a WiFi station that can give you access to far away WiFi networks from your home. Before continuing, you should have a clear idea on WiFi Networks, Working of a Wireless Router and WiFi Security. Click on this link if you would like to have a basic Idea about WiFi.
Things you need
- USB WiFi Adapter
- A High Power Antenna
- USB Repeater Cables
- Raspberry Pi
USB WiFi Adapter
A WiFi router converts the data packets to wireless radio frequency signals or WiFi Signals and is radiated across certain radius depending up on the transmitting antenna. Inorder to use the internet, these radio packets have to converted back which require certain hardware. Almost all of modern mobile phones are laptops are equipped with these hardware. But what about a desktop PC that doesnt have a wireless interface? There comes the importance of USB WiFi Adapter.
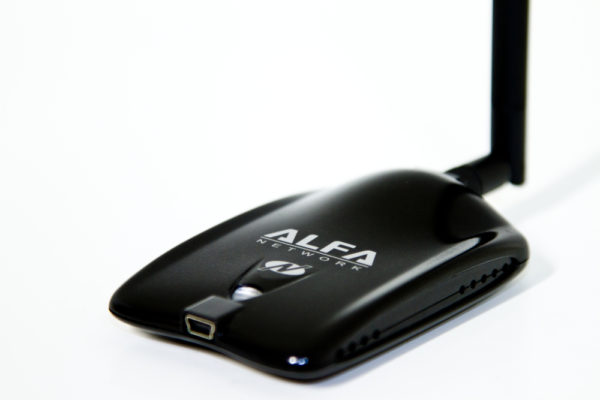
USB WiFi Adapters are hardware that can be connected to our machines via USB port, which will act as an interface to connect to Wireless Networks. Most of USB WiFi adapters are plug and play devices, which means they can be directly connected to our systems and start using it right away. In some, we can connect external antenna to the device which will improve he range of capture; which means as the power of antenna increases, it can receive the signals from a router located at a greater distance.
[AdSense-C]Alfa is the chosen one for me. For the past five years, I have been playing around with Alfa’s USB adapters, I am using ” Alfa AWUS036NH ” and ” Alfa WUS036NA ” which I found out to be the best USB WiFi adapters for Intrusion and Penetration Testing.
You can also use ” TP-Link TL-WN722N ” which is pretty cheap and handy.
Here are a list of WiFi Adapters that will work with Kali Linux. You can purchase the one you Like.
Best WiFi Adapters Compatible with Kali Linux for Security Testing and Packet Injection.
A High Power Antenna
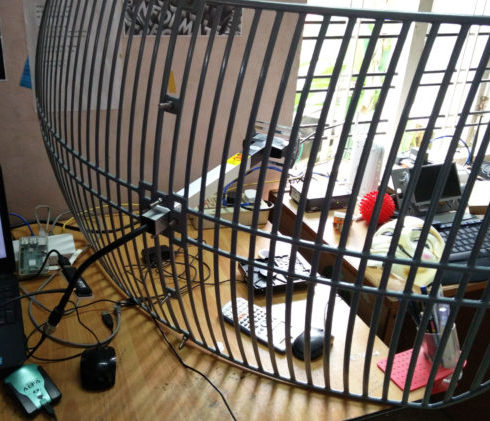
All the three above WiFi adapters comes with external antenna of 5dBi or 7dBi. Since they are easily removable I thought of using a more powerful outdoor antenna. After so much research, I bought a TP-Link 2.4GHz 24dBi Directional Grid Parabolic Antenna.
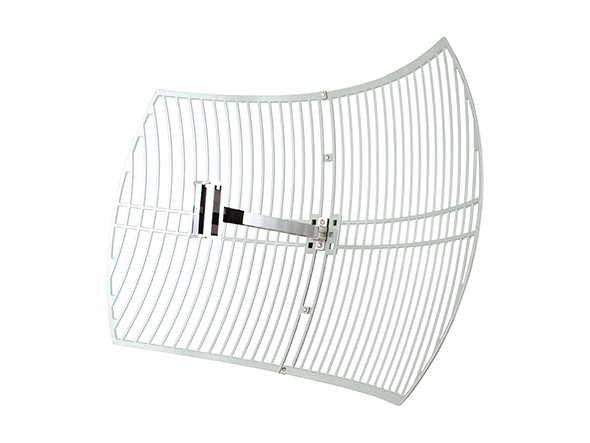
It had an awesome 24dBi directional operation, which is perfect for long-distance outdoor wireless connection. And it turned out to be suitable for all weather conditions. Since the mounting kits where also there in the package, installation was also easy.
USB Repeater Cables
I placed my antenna connected to my WiFi USB adapter on top of my house. From there, I had to connect this adapter to my Raspberry Pi in my LAB which is at the first floor. When I tried to connect with ordinary USB cable, Raspberry Pi constantly disconnected the adapter. After checking the power levels, I came to know that due to the length of the cable, most of the signal where lost when it reached the Raspberry Pi. So I had to use an active repeater that would amplify the signal in order to avoid signal loss.
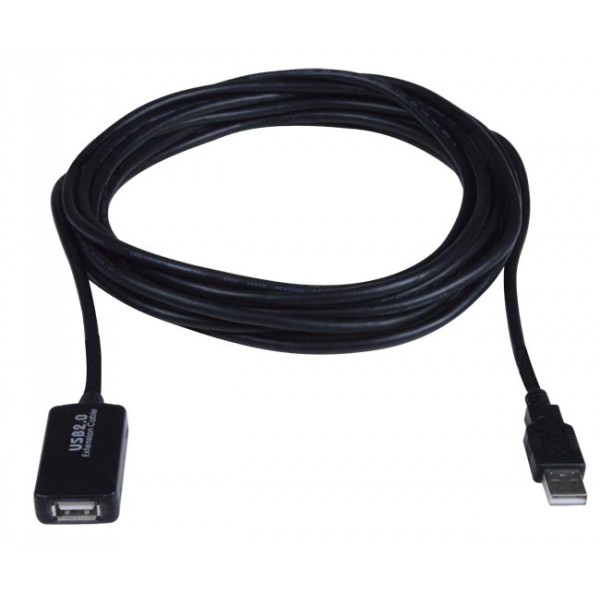
I used a BlueRigger USB 2.0 Type A Male to A Female Active Repeater Cable, which did a very nice job in transmitting the signal across a long distance without much loss in signal strength.
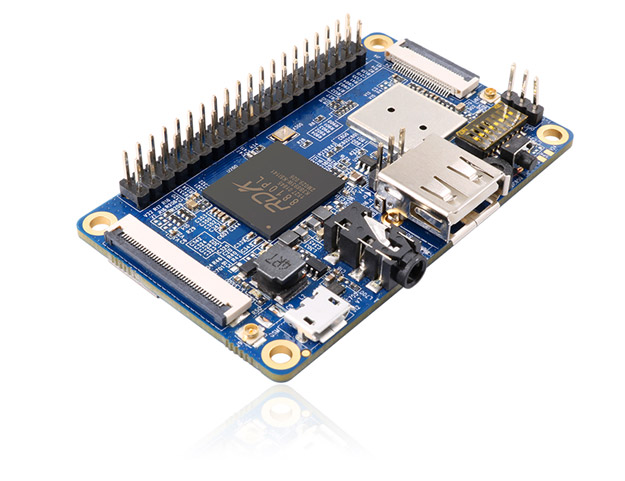
Raspberry Pi
This tiny computer is a precious tool for students, artists, and of course hobbyists.
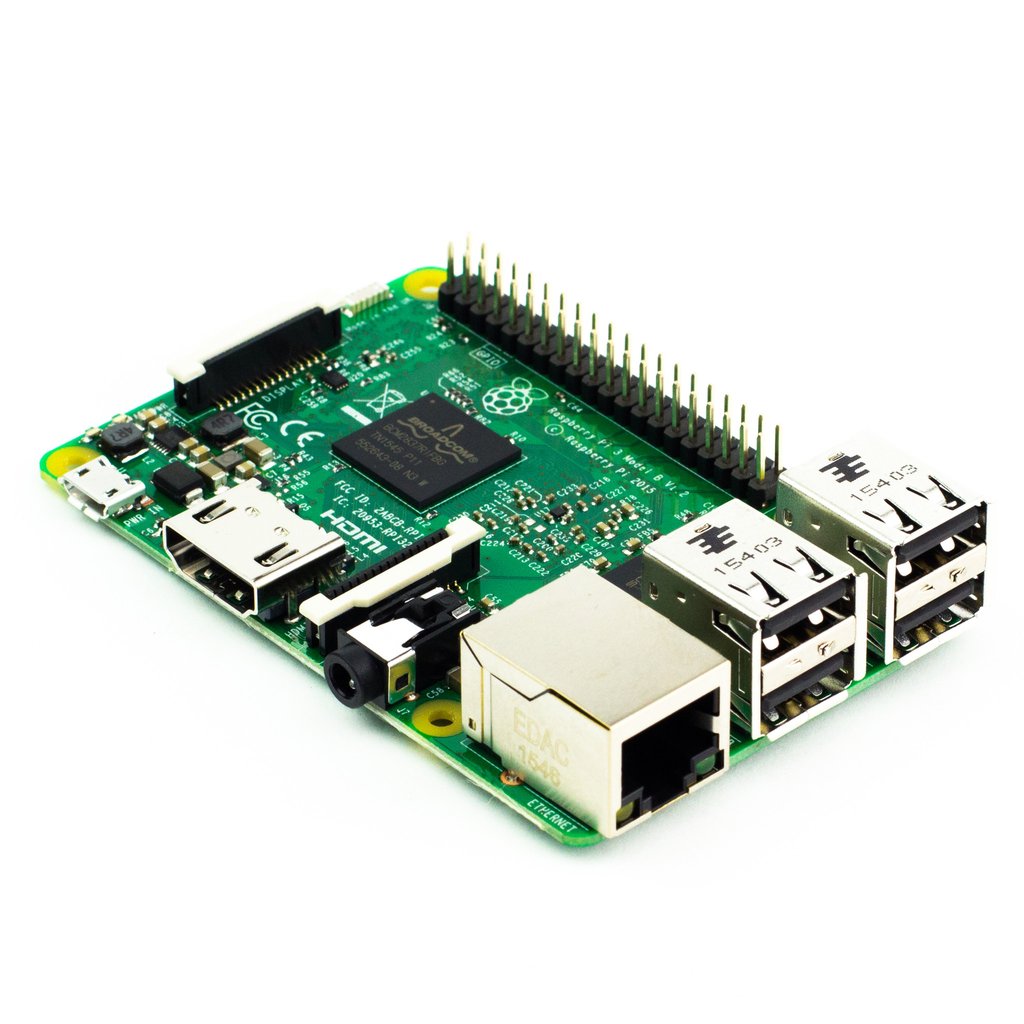
With features for developing things in different areas, it is not a surprise to have hundreds of thousands if not millions of users. If you don’t have one, you can buy it from here.
Set Up
Setting up the Raspberry Pi
First thing to do is set up our Raspberry Pi with Kali Linux OS. Download Kali Linux Image, burn it on to an SD Card, power up the pi and do the initial setups.
Click Here For Instructions On Setting Up Kali Linux. Here I have explained all the steps in detail for creating a Portable Security Testing station using Raspberry Pi. For the current project repeat everything under Download and Install Kali, Log in and Resize the Partition and Installing raspi-config.
You can also set up a NOIP Dynamic DNS Service if you would like to access your system from outside your network. This article explains How to Setup NoIP in Kali Linux.
Setting Up the Antenna and USB WiFi Adapter
The parabolic grid antenna was delivered to me in a large package, disassembled with all the mounting kits in it.
Assembling the antenna is a n easy process, all the nuts and bolts required to fix this thing together was in that package.


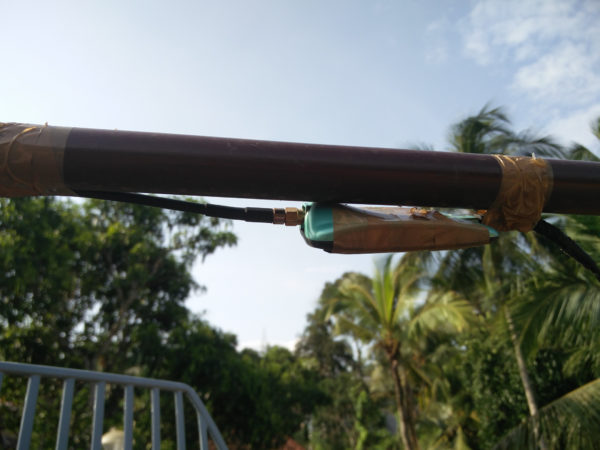
The mounting kit was actually meant for fixing on a wall. But I managed to fix that on a pole where I could easily change the direction of the antennas face just by rotating.

This antenna was connected to the Alfa via N Female connector. Even though the antenna was weather proof, proper measures should be taken to protect Alfa from rain, sun and snow.
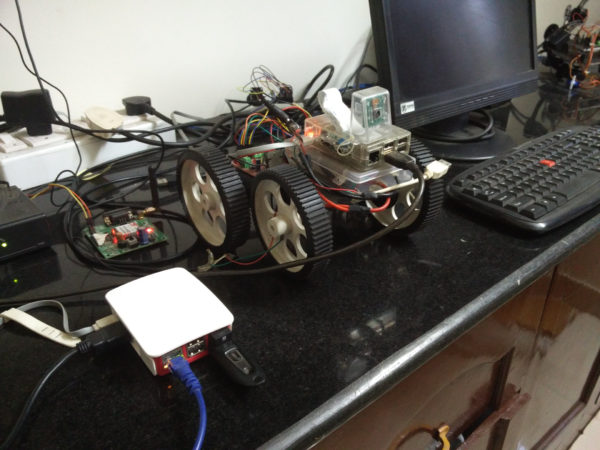
Then I connected other end of the Alfa to USB Repeater cable. This wire was long enough to connect Alfa to my pi in my LAB.

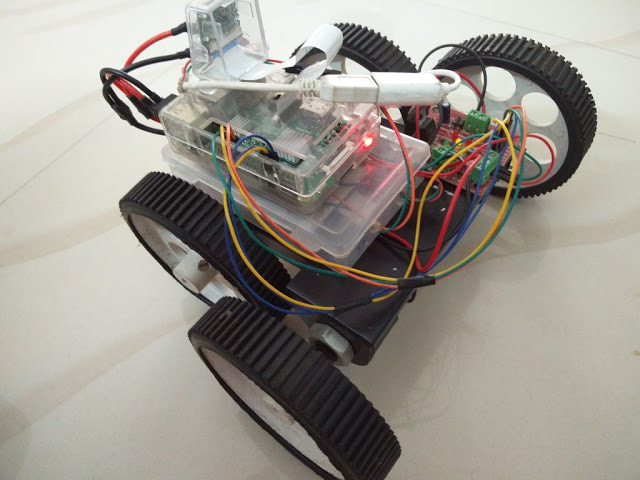
Currently the adapter is connected to the raspberry pi the right. The robot part is for controlling it and using it for surveillance when I am not at LAB ( click here If you are interested in making a surveillance robot ).
Connecting Pi to Our Network
Best WiFi Routers of 2018
Here is a list of World’s Best WiFi Routers of the year 2018. Make sure you grab one of them for High speed, Long Range, and Stable Internet connection.
http://www.cuteoffers.com/technology/best-wifi-routers-2018/
Now I connected my Pi to my WiFi network using the inbuilt wifi card (broadcom chipset) of Raspberry P. This is very important because we will be using the external adapter for attacking purposes. For attacking, most of the time, we will be using it in monitor mode. While in monitor mode, that interface loses its IP address and loses its connectivity. So make sure that the interface you used to connect to your network should be always up and running.[AdSense-C]
http://hackersgrid.com/2017/09/wifi-explained.html
Select your network, enter the password and connect to that network. Go to network manager, general tab and tick the first two option so that it will automatically get connected to this wifi whenever it is available.
Once you have done till this, you will be able to SSH into your pi from any device from within your network and carry out all the tests.
Now I can access this pi from the LAB or outside the LAB (via NOIP). Currently this setup can detect more 75 Wireless Networks around my house. It can receive and send data up to a radius of 5 KM (Line Of Sight).
[AdSense-B]
If you have any questions about this project, please let me know it in the comments.
Share You Opinions Below
Rate the Project
Did you find this page useful? Help us to improve by rating this page.


from my experience, Alfa AWUS036NH is not a good option. NHA is fine but not NH. NH doesnt work with reaver.
Hi interesting post.
I have watching a few you tube videos about using a old Satellite dish to pick up a WiFi signal. Which do you think
would give you a better and stronger signal of wifi??
I am interested in trying to help my mom. She lives out in the country and surrounding forest. She is probably about 3 miles from a bar that has open WiFi which has low download speed, and approx 8 miles from a casino that also has open WiFi.
Do you have any help or suggestions on how I can put something together that would enable her to receive these wifi signals and to.get amd use the Internet??
Step by step would be greatly appreciated or even video if you have.
Thank you again very much
God Bless
I bought the antenna and wifi adapter you mentioned. I am living on a flat and now i am getting over 200 wifis.. Thanx mate.